I love to draw, but how can I turn my pictures into a 32 page narrative?
I've asked myself this very question. It all started during the early days of lockdown - It was during this time that I wrote my own story, and while the narrative itself was quite terrible, it set me on a path that would change everything…
Fast forward two years, I found myself illustrating my second published book called "Mia's Glamma." It was an incredible journey, and I'm going to walk through the steps I took to illustrate that book. My hope is that by sharing my experience and insights, illustrating your own book will become not only easier but also a more enjoyable and fulfilling process… and for those of you who aren’t illustrators, I hope its fun to see a little ‘behind the scenes’.
Last month, I got to travel to the Northern Territories, Australia. I got to experiment with making aboriginal art using contemporary techniques and I also go to meet the wonderful and extremely talented Tio Kunun Warun. I loved hearing about his life story and his art journey.
Also I will be at Harry Hartog in Bondi Junction this Sunday at 11am for storytime. Would love it if you can join me!
This month, the illoguild question is “How do you make it? ”
Members of the illoguild all answer the same question as each other every month. The answers are published in our monthly newsletter.
This is a question that resonates with all of us, in the illoguild, as we have a passion for creativity and a desire to constantly learn and grow, especially from each other. We all love the thrill of discovering new techniques, picking up tips and tricks from fellow artists, and uncovering the secrets behind bringing our artistic visions to life.
So, let's embark on this creative adventure together. Let's explore the techniques, uncover the secrets, and embrace the joy of making art.
So, if you're ready to embark on a creative adventure, where your drawings become a gateway to a world of imagination and storytelling, join me as we delve into the steps I took to illustrate "Mia's Glamma."
I'll share with you the techniques, tips, and insights from brainstorming ideas and developing characters to bringing it all together in a visually compelling way.
*A picture book takes many months to complete and isn’t a simple task. I’m going to go through the steps briefly, but each step could be the topic of many newsletters and full time courses.
Step 1: Receive a great text - Thank you Josie Montano (the author).
Step 2: Break the text into 32 pages - again thank you Josie for doing this for me.
Step 3: Understand the text, the mood, the feeling, the characters, and brainstorm ideas. Thanks again, Josie, for the wonderful illustration notes. They were a fantastic guide, and they inspired many of my own ideas.
Step 4: Character Design
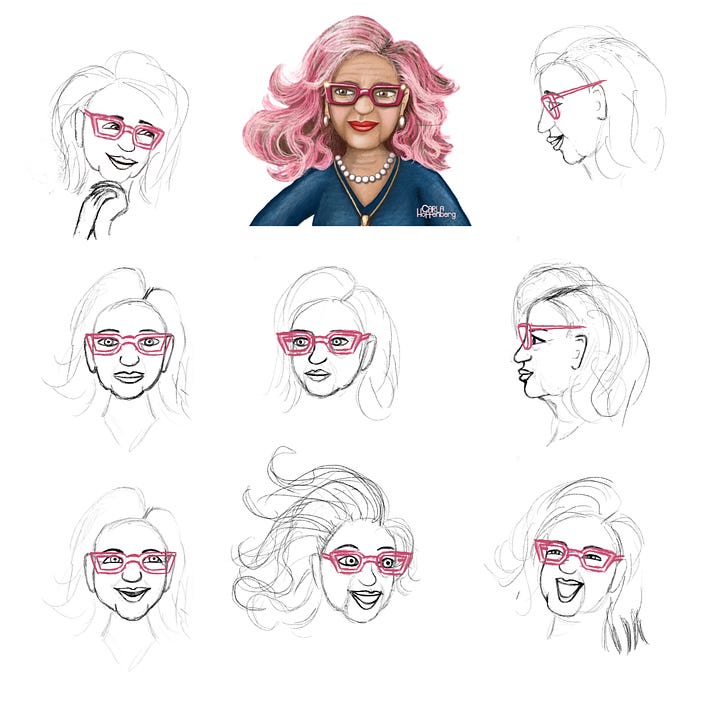
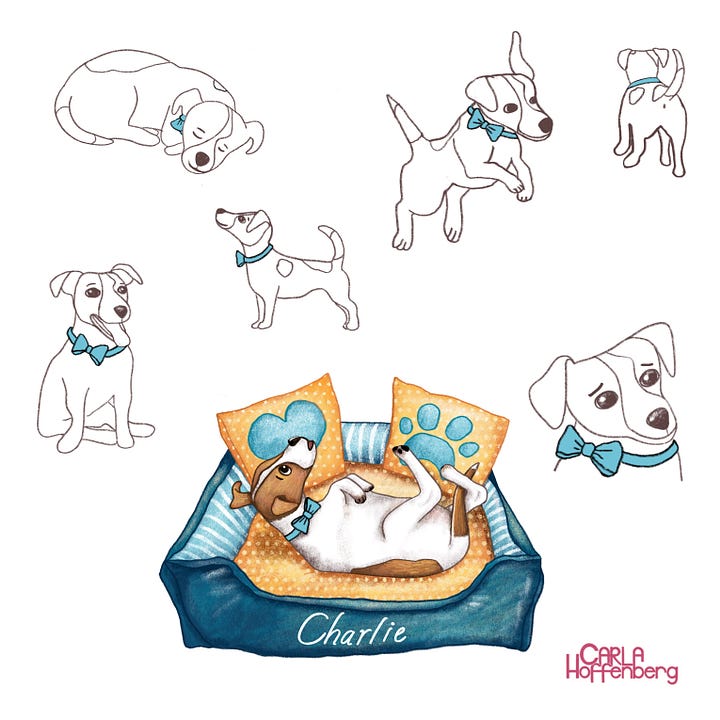
When I received the text, I immediately fell in love with the main character. Josie wrote her so vividly and she was always engaging in numerous awesome activities that conjured up images right away. The main characters are ‘Mia's Glamma’ and ‘Mia’, and I also introduced a dog named ‘Maxie’.
To develop the characters, I start by writing down their traits and sketching ideas. I kept going until I found something I liked, and then refined the ideas. While Glamma came naturally to me, Mia was more challenging. I sketched Mia, the 4-year-old granddaughter, but bringing her to life in a believable way with colour proved trickier. You can read about the creation of Mia in my post “How to overcome a creative struggle”.
There are many excellent books and courses on character design. I recently completed Kelly Light's character design course and learned so much.


Step 5: Thumbnails
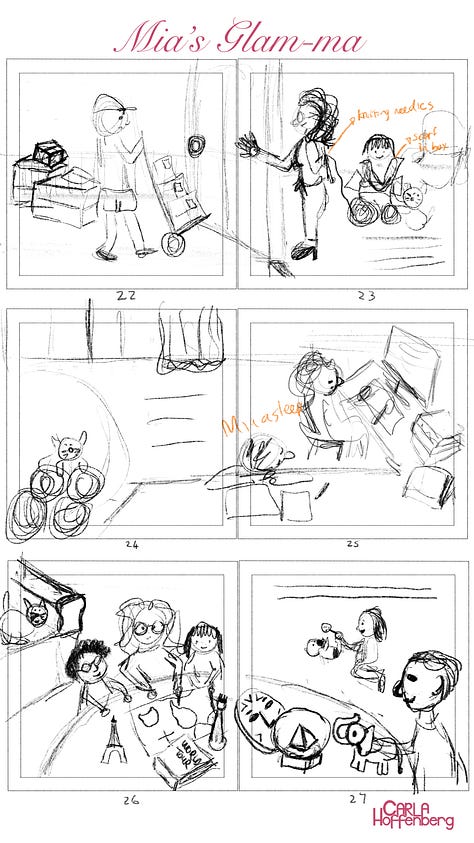
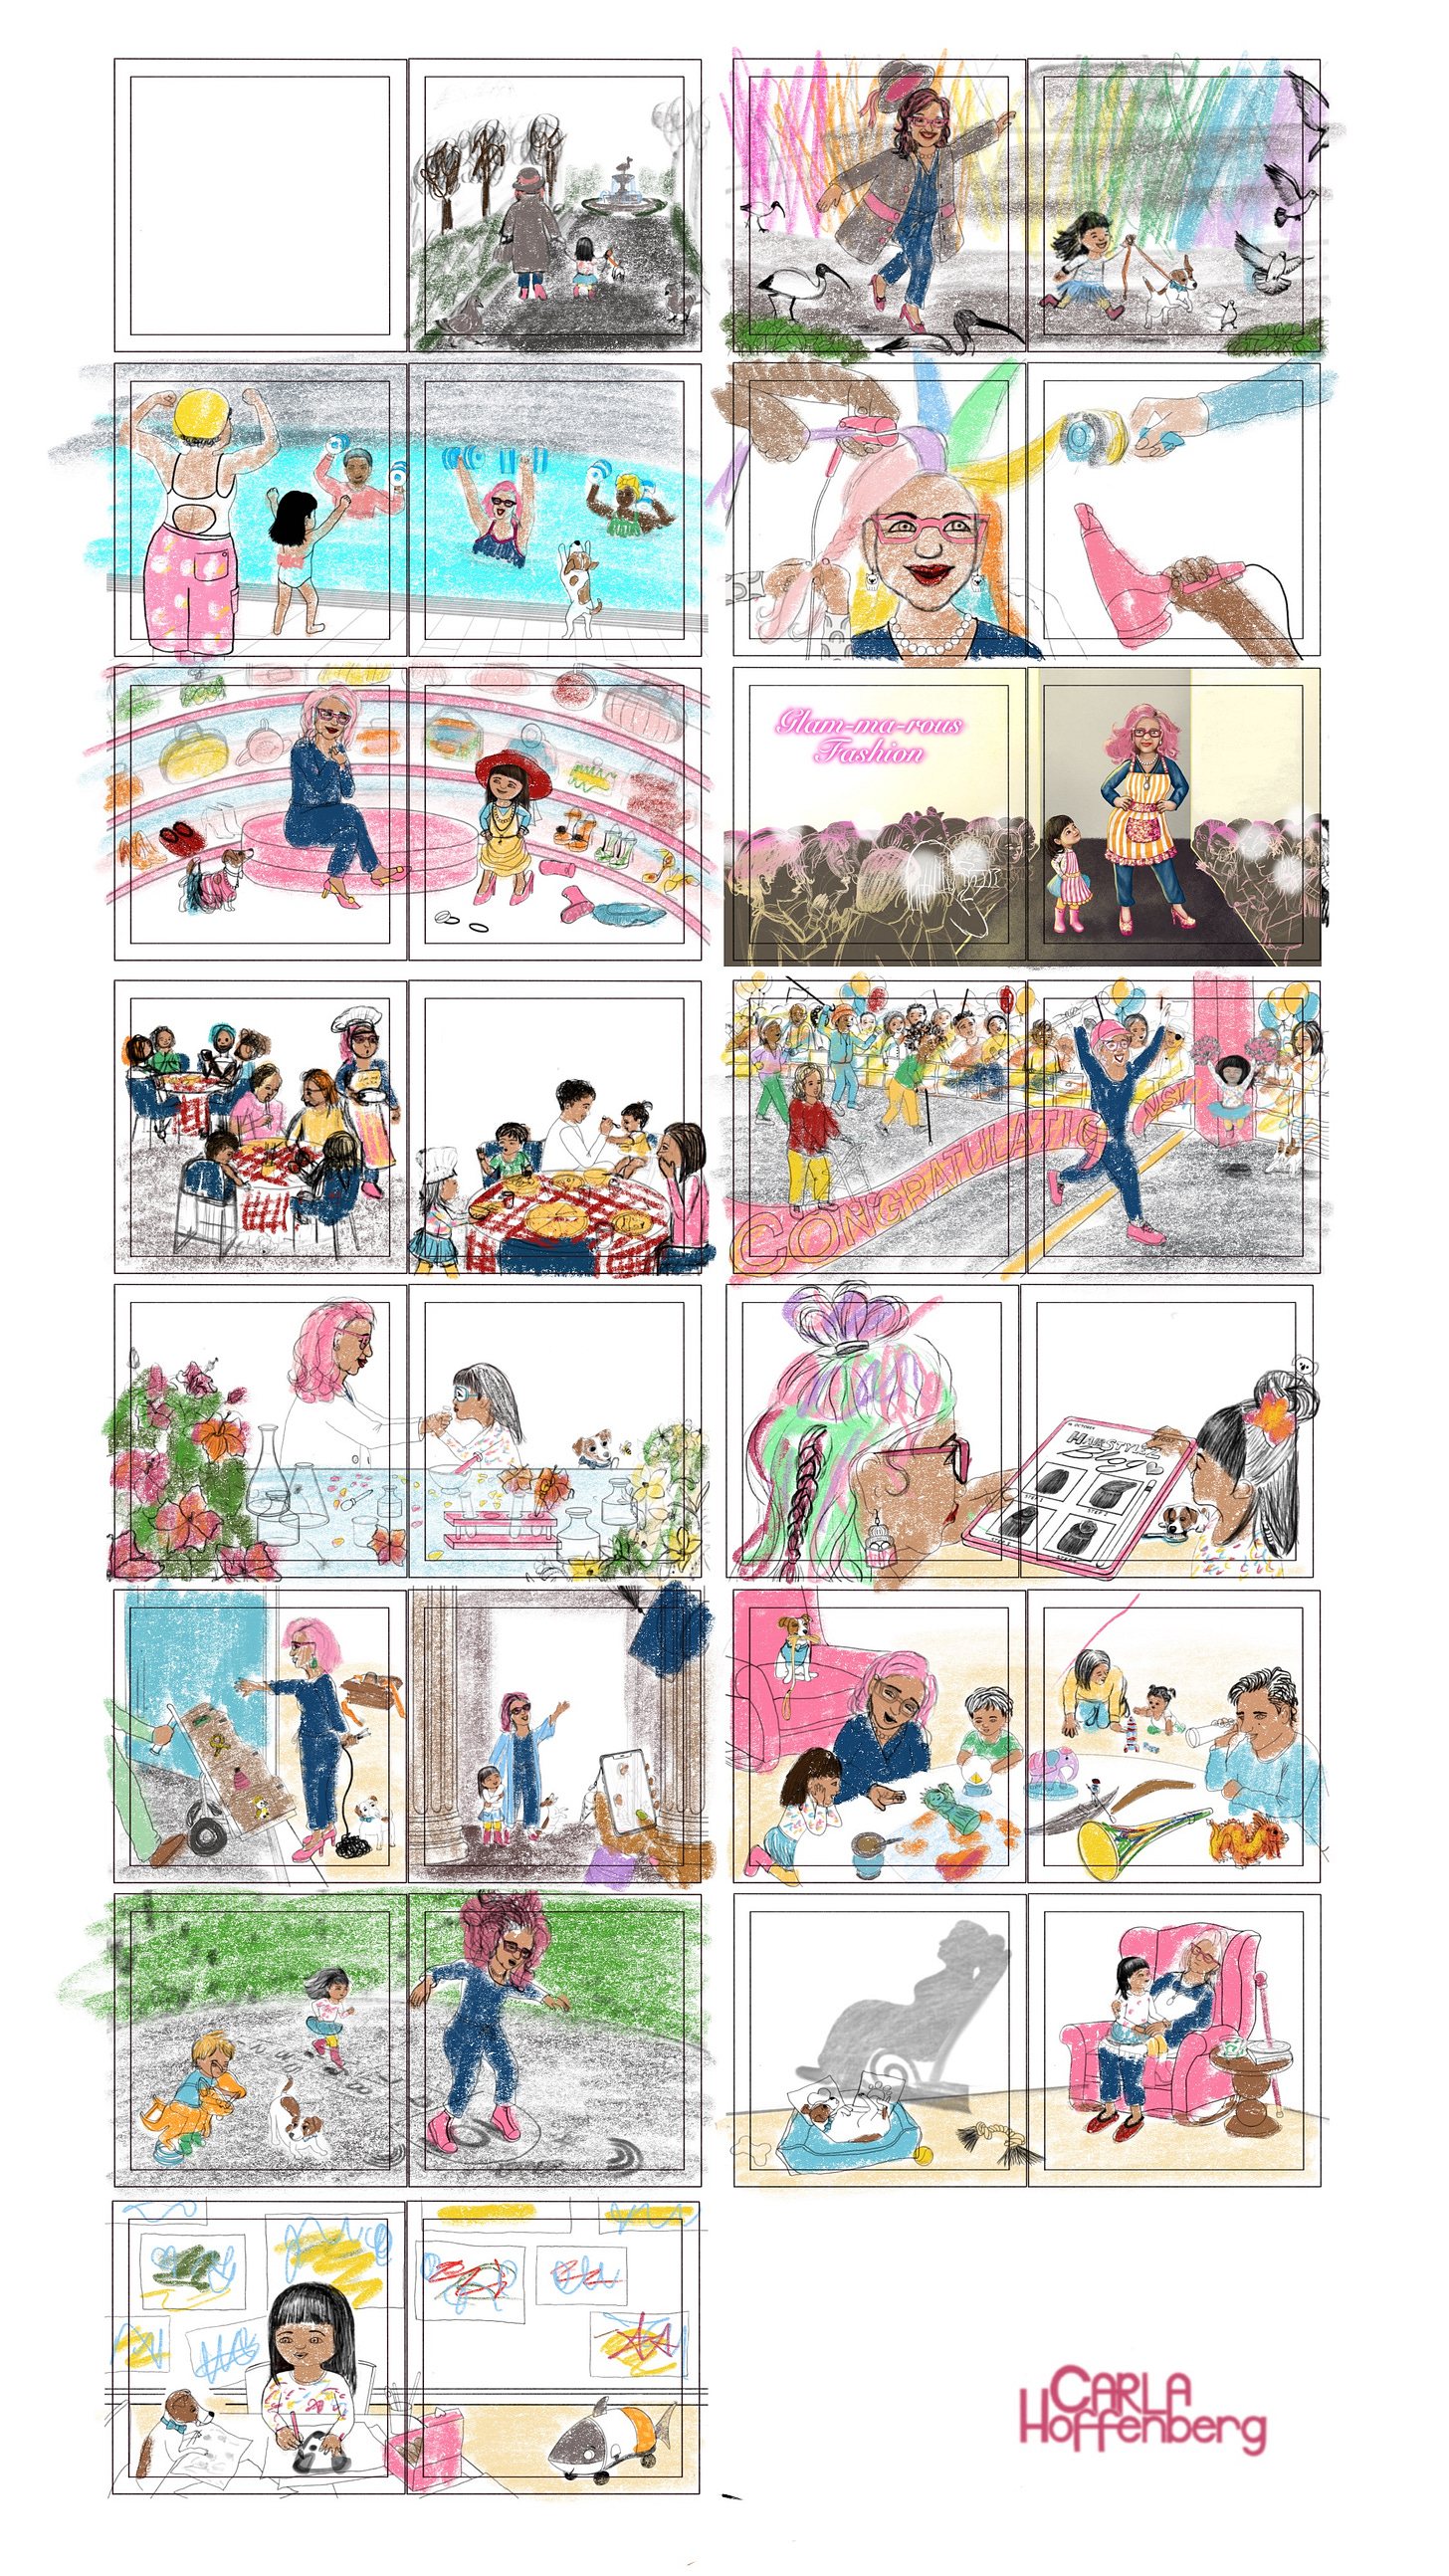
Thumbnail sketches are small, rough sketches that help visualise the layout of the illustrations. This is the most challenging stage for me, as it requires abstract thinking and conceptualizing rather than detailed drawing. I try to fit the entire book into small squares on an A4 page. If you're unsure how to set this up, you can download "picture book thumbnail templates."
The purpose of this stage is to communicate what will be on each page, rather than focusing on creating beautiful artwork. I often use stick figures or rough shapes to demonstrate the composition. During this stage, I consider how the story flows and how I can convey it through my illustrations.
Where is the suspense? Where is the climax?
Here are some tips:
Incorporate sketches from the earlier stage.
Mark out where the text will go on the page using horizontal lines.
Ensure there is no visual clutter competing with the text (a single color behind the text works best).
Leave ample space around the text for breathing room, as it may be translated into other languages requiring more words.
Avoid placing important elements in the gutter or too close to the edges.
Create multiple versions of each spread to refine the best one.
Use a variety of poses, expressions, compositions, and angles to add visual interest. Think of it as directing a movie, considering camera angles to set the tone or increase the drama.
Determine whether each page will be a single-page spread, double-page spread, or vignette.


Thumbnails
Step 7: Line Drawings
This step formalises the thumbnail sketches. Sometimes, I need to return to sketching to work out additional characters or scenes. Here are some tips:
Use the exact dimensions of the book to ensure proper placement and avoid drawing too close to the edges or margins.
Create a separate character sheet to maintain consistency in drawing the characters across each spread.
Test the images in the actual size of the book to ensure clarity, especially for small details that may not be clearly visible when printed.
Add fun details, such as additional animals or side stories, especially if they require approval from the author or publisher.
Step 7: Determine the colour palette.
I created a rough colour palette by scribbling over my line drawings. The aim is to demonstrate how colour enhances the storytelling and ensures a cohesive look throughout the book.
Step 8: Final Colour Drawings
I find this stage the most fun as all the “hard work” is complete and I can really bring the characters and scenes to life. Here are some tips:
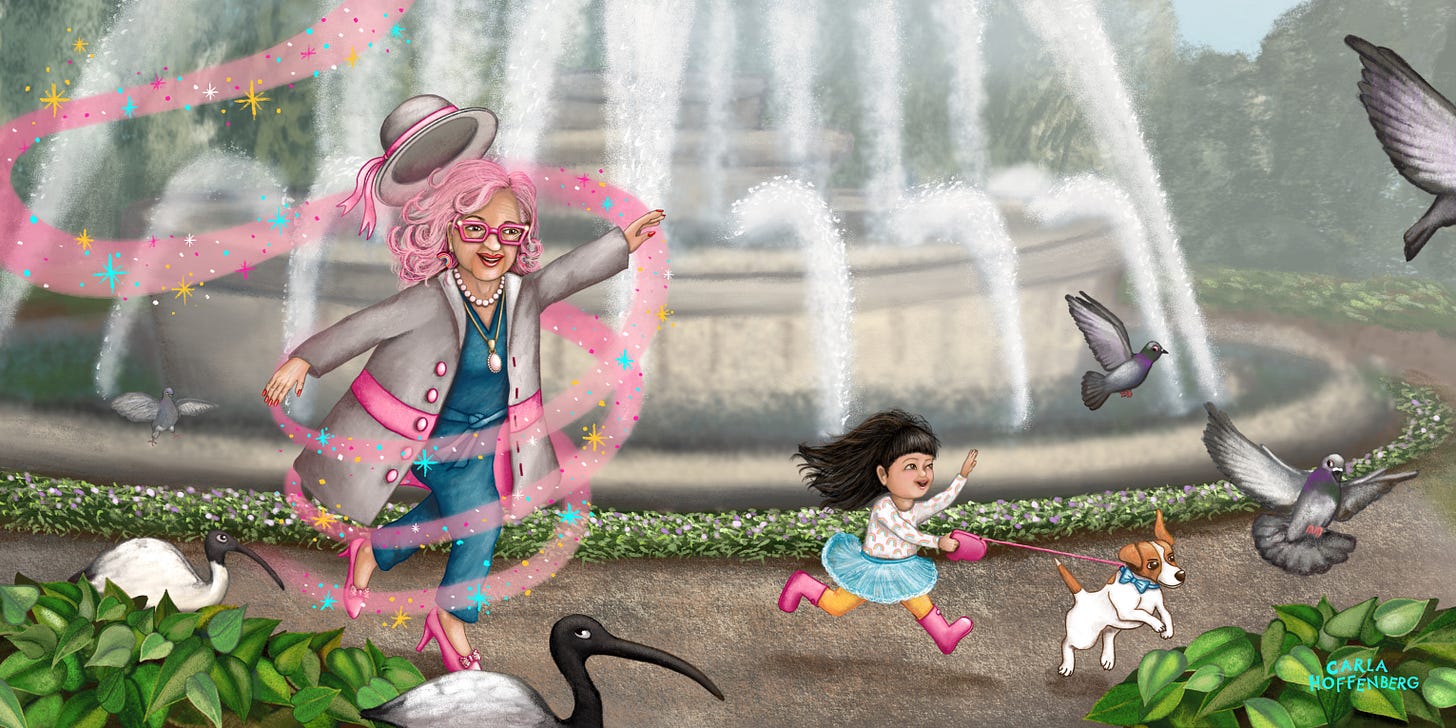
Keep your target audience in mind adding in fun details and Easter eggs (there are many Australian animals to look out for and Glamma has different earrings in each scene).
To keep my style and characters consistent I like to start with my main characters. I colour them all first - first I did all the ‘Glammas’, then all the ‘Mias’ then all the ‘Maxies’. Then I move on to spreads that are similar or have similar elements such as trees or flowers.
It’s best to start with more complex spreads and then move onto more simple ones, when energy levels are lower.
I also pin the completed spreads up around my desk so that I can refer to them and make sure the spread I’m working on has a consistent style.
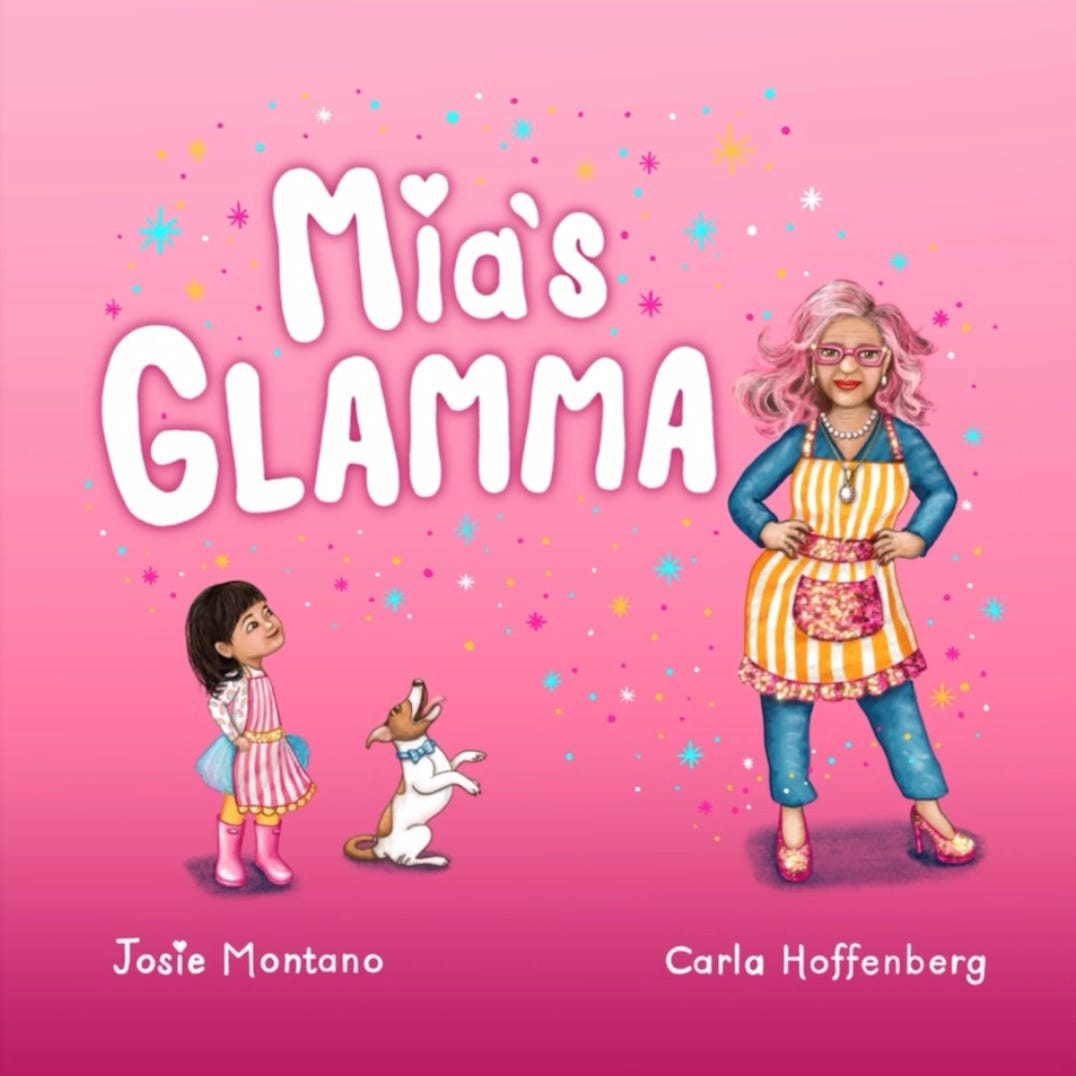
Step 9: Cover Design
This topic definitely deserves its own newsletter, as it is crucial for attracting potential buyers. I will share more about my process in the future.
Here are some tips from miblart and some brilliant Picture book covers from 2023.
Step 10: Put your feet up and watch your book fly off the shelves!
I wish!!!!
Check out last months newsletter all about “how to promote and sell books.”
Importantly remember to get feedback throughout the process! The publisher and author should be taken on the journey with you - You want to make sure you are all on the same page. (Pun intended) And it’s also better to get more eyes on your work, especially from peers and little readers.
I hope this insight into the process of creating a picture book, along with my tips proves helpful.
Please share your thoughts and any additional tips you may have. I love learning and improving my processes.
Also please share this newsletter with anyone who is a lover of picture books or an illustrator.
Thanks for reading and sharing!
News
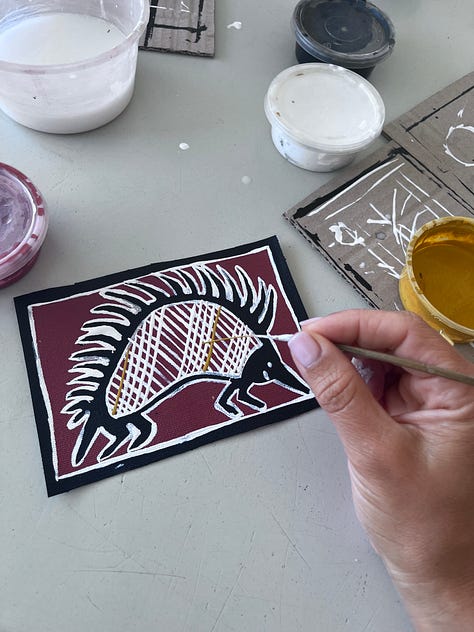
Last month, I got to travel to the Northern Territories, Australia. It was wonderful to explore more of my own backyard. I got to experiment with making aboriginal art using contemporary techniques and I also go to meet the wonderful and extremely talented Tio Kunun Warun. I loved hearing about his life story and his art journey. I am really inspired to tell more Australian stories and experiment with some of the techniques that I learned.


Northern Territory
I will be reading Mia’s Glamma and doing related activities at Harry Hartog in Bondi Junction Sydney on Friday 10 November at 11am- Hope to see you there!
If you would like to see what I am working on or where I’ll be doing my next reading, follow me on instagram.
If you would like to find out more about Little Shark Lulu or Mia’s Glamma - visit my website.
Please leave a comment or just say hi 👋 I love meeting readers of this newsletter.
Thanks for reading and being part of this community 😊


I’m glad you liked it. I had so much fun sketching different “Glammas”.
Love your drawings in Mia’s Glamma.
So many wonderful ideas and amusing touches on every page when one takes a closer look.
Well done Carla